How to Actually Measure Mini PC Idle Wattage (and Why Specs Lie)
Spec-sheet TDP isn't what a mini PC actually pulls from the wall. Here's how to measure idle wattage with an inexpensive energy meter, what to expect from
Every spec sheet for an N100 mini PC quotes a single-digit “6W TDP.” That number is meaningless for homelab planning. The chip itself might use ~6W under load, but the box around it — the SSD, the RAM, the NIC, the chipset, the power supply efficiency — adds several watts on top before the system even idles.
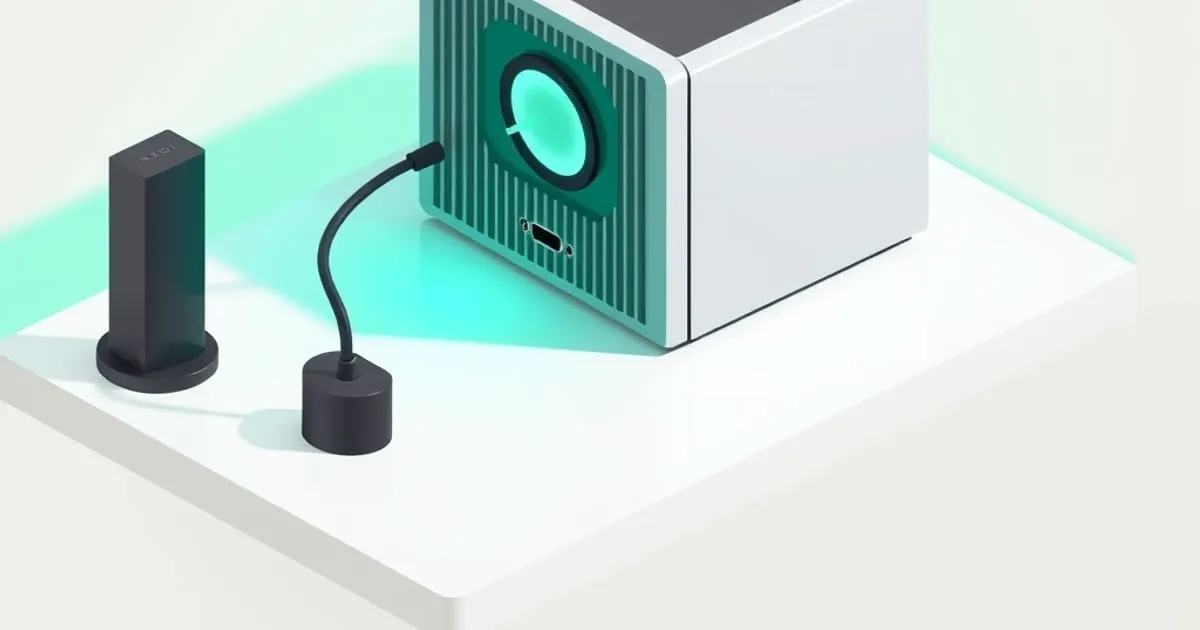
The single most useful inexpensive tool for this hobby is a plug-in energy meter such as the Kill A Watt P3 P4400 ↗. Here’s how to measure a mini PC properly, what the numbers typically look like, and the BIOS tweaks that save real watts.
What “idle wattage” actually means
There are three states worth measuring:
- Cold idle. Booted, no services running, nothing logged in. This is the lowest the system will ever go and it’s mostly useful as a sanity check.
- Warm idle. Your full Docker ↗ stack is up, every container is running, but nothing’s actively doing work. This is what your 3 a.m. wattage actually looks like.
- Average draw. Measured over 24 hours via the Kill A Watt’s kWh counter. This is what shows up on your power bill.
Warm idle is the most useful number to plan around. Spec sheets give you a CPU TDP, which only describes the chip. Reviewers sometimes quote cold idle, which understates your actual draw.
The measurement setup
You need three things:
- A wall-pluggable energy meter. A Kill A Watt P3 P4400 (simple dedicated meter), or any of the smart plugs with energy monitoring (TP-Link Tapo P110 or Kasa KP125M are common; both work and integrate with Home Assistant). Dedicated meters tend to be more accurate at the very low draws involved here.
- The mini PC, fully configured with your actual workload running.
- A few minutes of patience. Don’t trust the first reading — let the system idle for 10 minutes before recording.
Plug the energy meter into the wall. Plug the mini PC into the meter. That’s it. Watts read in real time; cumulative kWh accumulates over time. After 24 hours, divide kWh by 24 to get average draw — that captures the brief CPU spikes that warm idle misses.
What to expect: typical warm-idle ranges
These are representative warm-idle ranges (full Docker stack up, no active load) for common homelab hardware classes. Treat them as planning ballparks, not guarantees — your exact box, BIOS, and drive choice move the number within these bands. The point of measuring is to find your number; this table tells you whether yours is normal.
| Hardware class | Example chips | Typical RAM | Typical warm idle |
|---|---|---|---|
| Older AMD-APU thin clients | HP T620 Plus / T630 (GX-series) | 8–16GB DDR3L/DDR4 | ~7–10W |
| Newer Ryzen-embedded thin clients | HP T640 (Ryzen R-series) | 16GB DDR4 | ~10–13W |
| N100 mini PCs | Beelink/Trigkey/GMKtec N100 | 16GB DDR4 | ~7–10W |
| N100 + extra SATA storage | N100 box with added 2.5” SSD | 16GB DDR4 | ~9–12W |
| N305 mini PCs | Minisforum/others, N305 | 16–32GB DDR5 | ~12–16W |
| Ryzen 7 mini PCs | Ryzen 7 8845HS-class | 32GB DDR5 | ~18–24W |
A few patterns worth internalizing, which hold consistently regardless of the exact box:
- Old AMD-APU thin clients on DDR3L can rival or beat modern N100 systems at idle, largely because DDR3L SODIMMs draw less than DDR4/DDR5.
- N305 systems are less idle-efficient than N100. The N305 has 8 cores vs the N100’s 4 — more power-management overhead even at idle. Budget roughly 4–6W more than an equivalent N100 system.
- DDR5 tends to cost ~2W more than DDR4 in this class. Worth knowing when choosing between two otherwise-similar boxes.
- Adding a 2.5” SATA drive adds roughly 1–1.5W, even idle. Worth it for storage, but factor it in.
- NVMe drives vary by roughly 0.5–1.5W at idle. High-performance PCIe 4 drives tend to sit at the high end; mainstream DRAM-less or efficiency-oriented drives at the low end. For a 24/7 box, the lower-power drive often matters more than the speed difference.
BIOS settings that actually save power
After measuring stock idle, I tweak BIOS settings and measure again. These are the changes that consistently shave 1–4W:
1. Disable Intel/AMD turbo
Counterintuitive but real. Turbo lets the CPU spike to higher clocks under load; even at idle, the higher turbo ceiling slightly increases voltage and power management overhead. Disabling turbo on an N100 saves 0.5–1.0W idle. For homelab workloads that don’t need bursty performance, it’s free wattage.
2. Enable all C-states
Some BIOS configurations default to limiting CPU C-states (deep sleep states). C7 and C10 are where the real idle savings come from. Look for “C-State Control” or “Package C-State Limit” — set to maximum (C10 on modern Intel chips, similar on AMD).
This can save 1–2W on N100/N305 systems. On older AMD GX chips, less; they don’t have as many deep idle states.
3. Disable unused peripherals
Audio, secondary serial ports, parallel ports, secondary NICs you’re not using — each one shaves 0.1–0.5W. The savings are small but free.
4. Disable RGB
If your mini PC has front-panel LEDs you can disable in BIOS, do it. Most are 0.2–0.5W. The GMKtec models in particular have notable LED lighting.
5. Disable WiFi/Bluetooth radios
If you’re wired and have no plans to use the WiFi card, disable both in BIOS. 0.5–1.0W on most boards.
Applying all five tweaks together typically takes a tuned N100 box down by on the order of 1.5–3W from stock — frequently a 15–20% cut in warm idle. In absolute terms that’s modest (a couple of dollars a year of electricity per machine at typical rates), but it stacks across a fleet and compounds over years of 24/7 operation.
What it costs at the wall
A quick way to budget: continuous 24/7 operation consumes about 8.8 kWh per year for every 1W of draw (1W × 24h × 365 ÷ 1000). Multiply by your own electricity rate. As a worked example, at an illustrative $0.16/kWh:
- 5W system: ~$7/year
- 10W system: ~$14/year
- 20W system: ~$28/year
- 50W system: ~$70/year
Plug in your actual rate (check your utility bill — it varies widely by region) for a real figure. The practical takeaway holds regardless of rate: a well-tuned N100 box running a full self-hosted stack costs only a low-double-digit dollars per year to power, a repurposed thin client a bit less, and a Ryzen 7 mini PC running the same stack a few times that. None of these are dealbreakers individually, but across multiple boxes the differences add up.
The right machine for your homelab depends mostly on what you’re running. The team at SelfhostRealm ↗ has a guide on sizing your hardware around your service list — start there if you’re not sure whether you need an N100 or can get away with a thin client. And if storage is a big part of your plan, TrueNASGuide’s hardware notes ↗ cover how disk choices interact with idle power on a NAS-focused build.
TL;DR
- Spec-sheet TDP is not your real idle wattage. Add several watts for everything else.
- An inexpensive plug-in energy meter is the best money you’ll spend on this hobby.
- Disable turbo, enable deep C-states, and turn off radios — easy 1.5–3W savings on any mini PC.
- Expect 7–10W warm idle from a well-tuned N100 system; 11–15W from an N305; 8–10W from a thin client.
Measure first, plan after. The spec sheet is the starting point, not the answer.
Related

Power Consumption Math: What a 24/7 Mini PC Actually Costs
The real cost of running a homelab box 24/7, worked from the wall meter up. Wattage-to-dollars math, regional rate examples, and where a few watts are

Is an N100 Mini PC Enough for Plex Transcoding? What Quick Sync Can and Can't Do
The Intel N100's Quick Sync engine makes a tiny mini PC a capable Plex transcoder, but only within limits. Here's what it handles in hardware, where it

Mini PC Homelab Won't Auto-Boot After Power Loss: The Fix
Your homelab survives the outage but the mini PC stays dark. Here's the BIOS setting that fixes it on N100, NUC, Wyse, HP, Beelink, and Lenovo boxes.